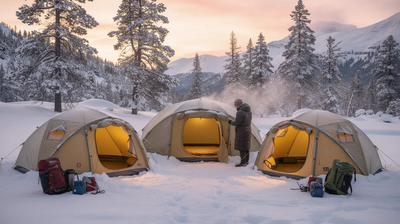
Winter camping rewards you with empty trails, crisp air, and landscapes most people never see. But here's the reality: tents have almost no insulation value on their own. That single layer of nylon between you and sub-zero temperatures does almost nothing to trap warmth. Without proper insulation, body heat escapes through the tent floor, walls, and roof, leaving you shivering through the night instead of resting.
Effective insulation for winter camping involves creating barriers against cold ground and air. Get it right and you extend your camping season by months, sleep deeper, and reduce your risk of hypothermia. This guide breaks down the six best methods to insulate tent setups for cold weather, compares them side by side, and helps you pick the approach that matches your style, budget, and conditions.
How We Chose the Best Tent Insulation Methods
We evaluated each insulation tent method against seven practical criteria:
- Warmth retention: How significantly does it reduce heat loss through conduction, convection, and radiation?
- Ease of setup: Can you install it quickly in cold conditions, even wearing gloves?
- Weight and packability: Does it make sense for backpacking, or is it better suited for car camping where you can pack heavier gear?
- Durability: Will it hold up through repeated freeze-thaw cycles, wind, and snow?
- Cost-effectiveness: What's the price relative to performance gained?
- Tent compatibility: Does it work across different camping tents, or only specific models and dimensions?
- Condensation management: Does it trap moisture from sweat and breathing, or does it allow enough air flow to keep the interior warm and dry?
No single method scores perfectly across all criteria. That's why understanding trade-offs matters.
Best 6 Methods to Insulate Your Tent for Winter Camping
1. Insulated Tent Liners (Crua Culla Style)
Insulated tent liners are quilted inner shells that hang inside your existing tent, creating a cocoon of thermal insulation around your sleeping space. They typically feature an outer ripstop shell, synthetic batt insulation, and a soft inner lining. The concept is straightforward: add a thick, warm layer between you and the cold air outside your tent walls.
Why it stands out: Quilted insulation traps body heat effectively, and premium liners like those from Crua Outdoors use materials with thermal conductivity as low as ~0.03 W/(m·K). Insulated tents can block light and noise, too, which dramatically improves sleep quality on windy nights.
Best for: Car campers and basecamp setups where weight isn't the primary concern. If you prefer maximum comfort and warmth over portability, liners deliver.
Key strengths:
- Insulated tents help retain body heat and block cold air from reaching you
- Crua tents use quilted insulation for better temperature regulation
- Insulated tents can be made with quilted or fabric insulation, giving you options
- Reduces condensation by shielding warm breath from hitting the cold outer fly directly
Product spotlight: The Crua Culla weighs 15.4 lbs and fits two people, making it a serious piece of kit for dedicated winter tent setups. The Crua Tri is the highest quality insulated tent available, offering a complete integrated system.
Possible limitations: The only complaint most users share is the bulk. These liners are expensive (often $300+), heavy, and reduce interior space. They also take up more room in your vehicle. For a large tent, you may need multiple panels to cover the whole tent.
2. Reflective Emergency Blankets and Space Blankets
Emergency blankets use thin Mylar or foil surfaces to reflect radiant heat back toward its source. Using reflective liners inside tents reflects body heat back into the space, addressing one of the major ways warmth escapes.
Why it stands out: A quality reflective blanket reflects roughly 90% of radiant heat, weighs just a few ounces, and costs under $15. Emergency blankets can insulate tents effectively when positioned correctly with an air gap between the blanket and tent wall.
Best for: Backpackers who need lightweight solutions, budget-conscious campers, and anyone looking for extra insulation without adding significant pack weight.
Key strengths:
- Ultra-light and compact enough to store in any bag
- Use sturdy emergency blankets for thermal insulation on walls or ceiling
- Easy to install with clips, tape, or small clamps
- Doubles as emergency shelter gear
Installation tip: Clamp insulation blankets securely to prevent wind damage. Loose blankets flapping in wind gusts lose effectiveness and can tear. A rainfly helps secure insulation layers on your tent from the outside.
Possible limitations: These blankets provide almost zero conduction insulation. They can be noisy (that distinctive crinkle), prone to tearing on sharp elements, and may create condensation if sealed too tight against tent fabric. You need proper air flow between the reflective surface and your tent wall to avoid moisture buildup.
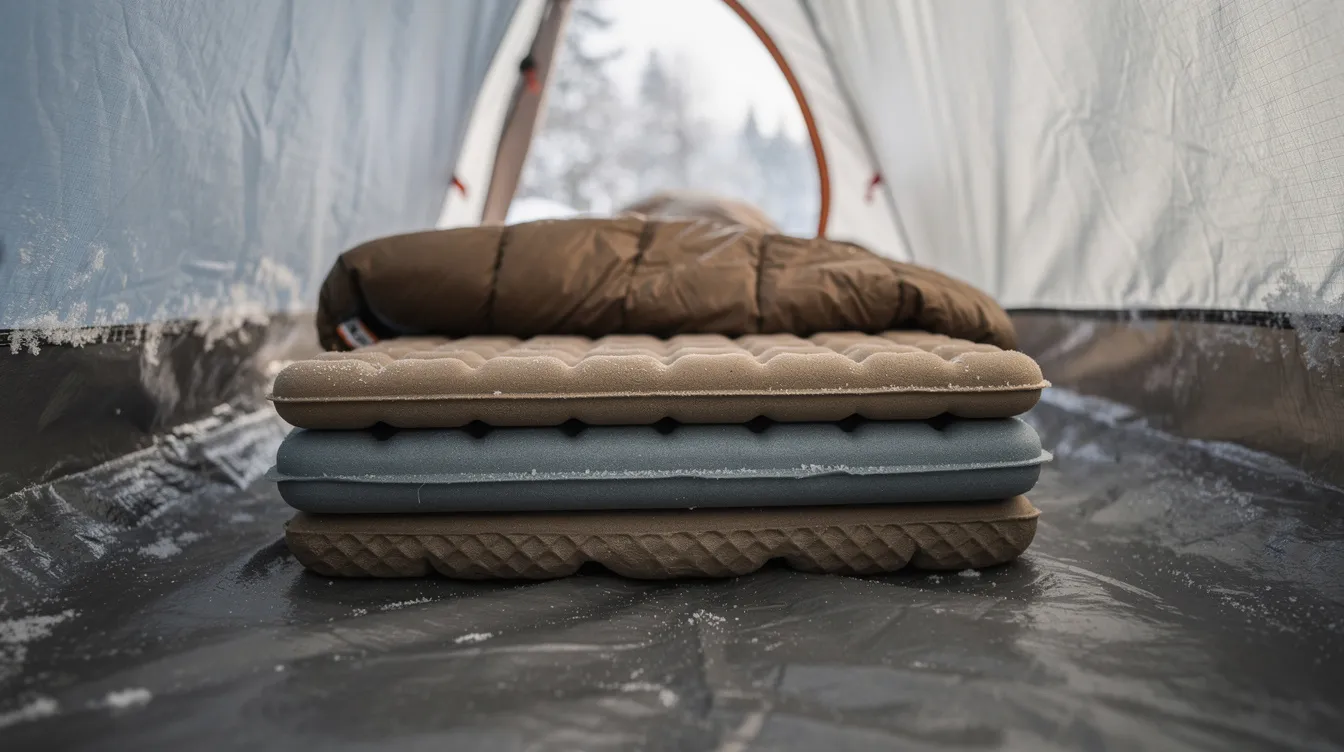
3. Closed-Cell Foam Floor Insulation
The cold ground is a relentless heat sink. Without a barrier, your body loses warmth through conduction all night. Closed-cell foam mats are efficient for insulation because their sealed cell structure traps air and blocks moisture simultaneously.
Why it stands out: Ground insulation is critical to prevent heat loss from the cold ground. Veteran winter campers consistently rank tent floor insulation as the single most impactful upgrade, more important than insulating walls or the roof.
Avoid sleeping directly on the ground to retain body heat. Even the best sleeping bag can't compensate for an uninsulated floor.
Best for: Every winter camper, regardless of experience or budget. This is the essential baseline.
Key strengths:
- High R-value ground mats prevent cold from seeping into a tent
- Waterproof and puncture-resistant (unlike inflatable pads)
- Affordable-quality options under $30
- Durable across many seasons of life in the field
Product example: The Therm-a-Rest RidgeRest SOLite offers an R-value of ~2.8 at just 14 oz and 0.625 inches thick. For winter, layer it under a high-quality inflatable sleeping pad to push your combined R-value above 4.0. Use a high R-value sleeping pad to retain heat-aim for R-4 or higher in cold weather.
Possible limitations: Foam mats add bulk to your pack. They only address floor insulation, not walls or ceiling. Over time, repeated compression can reduce their thickness a bit.
4. Specialized Winter Tent Footprints with Insulation
Purpose-built footprints are ground sheets designed to match specific tent models, sometimes incorporating foam, reflective layers, or composite insulation. They sit underneath your tent floor, creating a tailored barrier between the cold ground and your shelter.
Why it stands out: Custom-fit footprints eliminate gaps at the floor-wall junction where thermal bridging occurs. Unlike generic mats, these match your tent's exact dimensions and often integrate with the tent's pole structure.
Best for: Tent owners who want a clean, efficient ground insulation solution without cluttering the interior.
Key strengths:
- Perfect sizing means no loose edges or exposed floor sections
- Reduces cold transfer at critical floor-wall junctions
- Easy setup-often clips directly to tent poles
- Waterproof and durable across seasons
Possible limitations: Limited tent compatibility means you can't always use one across different tents. They cost more than generic mats and may trap moisture underneath if the campsite has poor drainage. You'll want to use a rainfly to secure insulation layers on your tent and keep everything covered from precipitation.
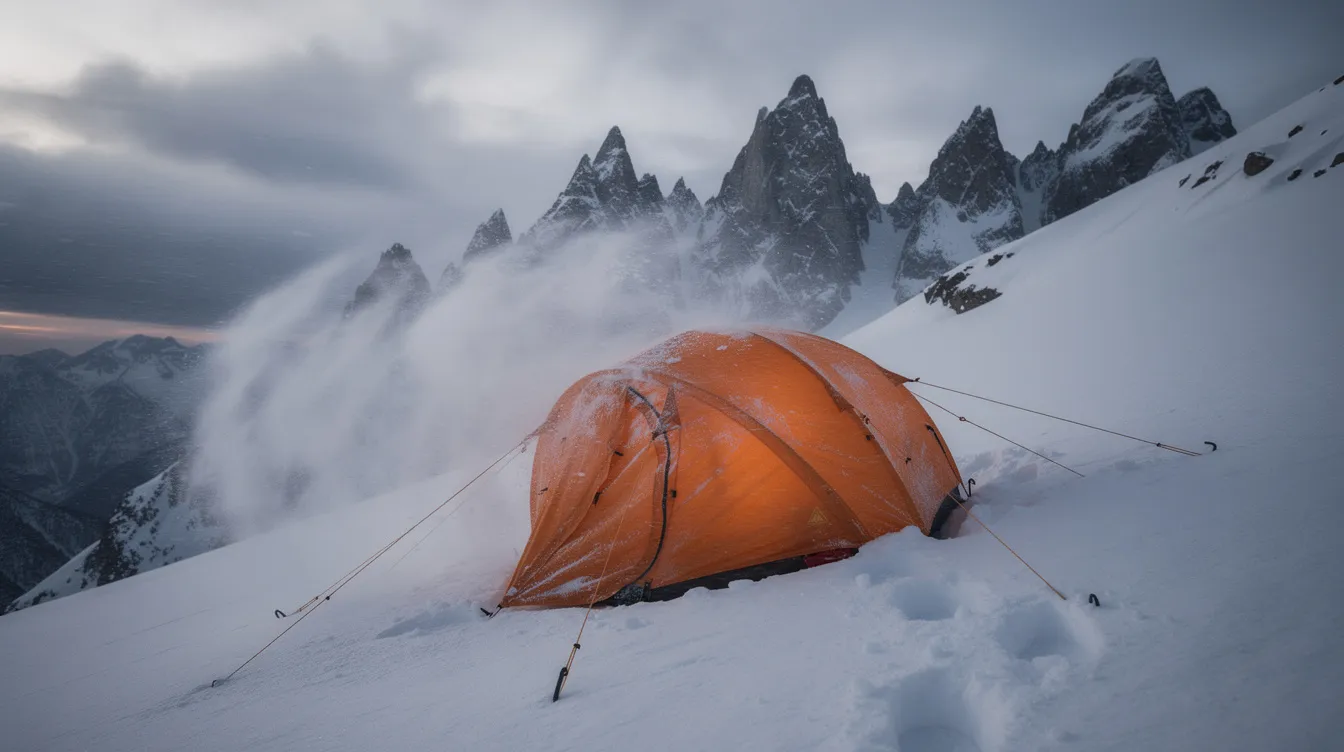
5. Four-Season Insulated Tent Systems
A true cold-weather tent is engineered from the ground up for snow, wind, and freezing temperatures. These aren't just heavier versions of summer tents. They feature geodesic or semi-geodesic pole architectures, minimal mesh, full-coverage rainfly designs.
Why it stands out: Winter tents are designed for extreme cold weather conditions. They handle what no combination of add-ons can replicate: structural integrity under heavy snow loads (20+ inches), sustained wind resistance at 50–60 mph, and integrated thermal insulation across every surface.
Best for: Serious winter campers, mountaineers, and anyone who regularly camps in extreme cold. If you're standing on an exposed ridge above treeline, this is what you need.
Key features:
- They feature steep sloped roofs to shed snow and rain before weight accumulates
- Insulated tents often include a built-in stove jack for heating, letting you safely run a compact camping stove inside
- Winter tents are made from heavy-duty waterproof materials that maintain flexibility in sub-zero temperature ranges
- They often have reflective fast-pitch guy lines for visibility when you're setting up in low light conditions
- Reinforced doors and windows designed to minimize cold air infiltration while allowing controlled ventilation
Product spotlight: The Mountain Hardwear Trango 4 is designed for extreme conditions-expedition-grade construction tested in alpine environments. For a broader look at rugged shelter options, check out our guide to the best tent for survival.
Possible limitations: Four-season tents weigh 5–8+ lbs (compared to 3–5 lbs for three-season models). They cost $400–$1,200+. In mild winter conditions, they can feel oppressive and hot with poor ventilation. For occasional cold weather camping, they're overkill.
A 0 deg sleeping bag should keep you warm in most winter conditions, but pairing it with a four-season tent creates a system that handles the worst the great outdoors can throw at you.
6. DIY Thermal Barrier Combinations
Not everyone wants-or can afford-premium gear. DIY thermal barrier combinations let you layer inexpensive materials to create custom insulation tailored to your specific tent and conditions.
Why it stands out: Layering insulation materials increases effectiveness in retaining heat in tents. By combining reflective barriers (radiant), foam panels (conduction), and blankets or tarps (convection), you address all three heat loss mechanisms at a fraction of commercial liner costs.
Best for: DIY enthusiasts, budget campers, and anyone with a specific tent configuration that doesn't fit off-the-shelf solutions.
Practical approach:
- Wrap reflective Mylar around interior walls with a small air gap
- Layer closed-cell foam or XPS panels on the floor
- Tarps can create thermal barriers against wind and snow for tents when draped over the exterior
- Constructing snow walls around your campsite can protect against cold drafts in winter camping
- Use waterproof blankets to add bulk insulation to walls
- Chemical heat packs maintain body temperature inside a tent-tuck a few into your bed area or sleeping bag
Real-world results: In one documented Rocky Mountain test, adding ½-inch rigid XPS foam under a mattress plus full wall liners raised interior temperatures by approximately 13°F, turning a borderline night into comfortable sleep.
Possible limitations: Setup is time-consuming and requires trial and error. Materials may shift or come loose during the night. Fire risk exists if synthetic materials sit too close to heat sources. Using smaller tents improves heat retention with DIY methods since there's less volume to warm-but that also means less more space for your setup.
Quick Comparison of Tent Insulation Methods
Method | Best For | Weight Added | Relative Cost | Heat Loss Types Addressed |
|---|---|---|---|---|
Insulated Tent Liners | Maximum warmth & comfort | 4–15+ lbs | $$$ | Radiation, convection, conduction |
Reflective Emergency Blankets | Lightweight backpacking | 2–8 oz | $ | Radiation primarily |
Closed-Cell Foam Floor | Essential ground insulation | 8–20 oz | $ | Conduction (floor only) |
Insulated Tent Footprints | Perfect-fit ground protection | 1–3 lbs | $$ | Conduction (floor) |
Four-Season Insulated Tents | Extreme winter conditions | 5–8+ lbs (total tent) | $$$$ | All types comprehensively |
DIY Thermal Barriers | Budget-conscious customization | Variable | $–$$ | Variable (all if layered well) |
How to Choose the Right Insulation Method
Choose Based on Camping Style
Your camping style dictates your priorities. Backpacking demands lightweight solutions-a closed-cell foam pad paired with a reflective blanket and a quality heat sleeping bag keeps weight manageable. Car campers can load up on insulated liners and thick foam since the parking lot is steps from camp.
Consider frequency. If you're doing many winter trips per season, investing in a four-season tent or quality liner pays for itself. Occasional winter campers are better served with add-on methods and DIY upgrades.
Group size matters too. A larger tent has more volume to heat, making insulation less efficient per person. Smaller tents concentrate warmth-two people sharing body heat in a snug two-person tent stay significantly warmer than one person alone in a four-person tent.
Choose Based on Winter Conditions
Match your insulation to conditions:
- Mild winter (25–35°F): Foam floor pad plus emergency blanket on walls is often sufficient
- Moderate winter (10–25°F): Add an insulated liner or footprint; ensure your sleeping bag is rated appropriately
- Extreme cold (below 10°F): Four-season tent with layered insulation, insulated footprint, and a wind-blocking campsite selection
Wind exposure matters as much as temperature. In exposed areas, convective heat loss dominates-pitch your tent behind natural windbreaks or construct snow walls. Heavy snow zones demand steep-roofed tents that shed accumulation.
For longer trips, pre-heating your sleeping bag with a hot water bottle before bed helps maintain warmth through the opening hours of the night. Set up your tent in a shaded area during shoulder seasons to avoid heat buildup during the day and condensation problems by morning.
Which Insulation Method Is Best for You?
- Choose insulated tent liners if you prioritize maximum warmth, camp from a vehicle, and have the budget. The quilted insulation and light-blocking properties enhance sleep quality dramatically.
- Choose reflective emergency blankets if you're backpacking and need lightweight options you can pack without noticing. Just secure them properly and manage condensation.
- Choose closed-cell foam floor insulation as the essential baseline for all winter camping. No matter what else you do, insulate that floor. Pair with heavy-duty tent stakes to keep your whole tent secure against winter wind.
- Choose four-season insulated tents if you regularly camp in extreme winter conditions where snow, wind, and sub-zero temperatures are the norm. The built-in stove jack, reinforced poles, and comprehensive protection justify the investment.
- Choose DIY combinations if you enjoy customization and want to save money. Layer your materials, test before committing to a long trip, and always maintain adequate ventilation.
The most effective approach often combines methods. A four-season tent with a foam floor pad and reflective liner on the sun-facing wall covers all bases.
Final Thoughts
Effective tent insulation depends on matching your approach to your camping style, expected conditions, and budget. There's no single solution that works for every scenario-but there are principles that always apply.
Ground insulation is non-negotiable. Regardless of what else you do to your tent, insulate the floor first. It addresses the single largest source of heat loss and improves every night you spend in the backcountry.
Leaving top vents open in tents prevents condensation buildup-this feels counterintuitive when it's freezing, but trapped moisture destroys insulation performance and leaves your gear damp by morning. Balance warmth with air flow.
Combining multiple methods almost always outperforms relying on one alone. A reflective wall liner, foam floor pad, and proper sleeping bag system together can transform a basic three-season tent into a capable winter shelter without the cost of a full four-season setup.
The right insulation doesn't just keep you warm-it extends your season, protects your body, and turns a cold night into the kind of experience that keeps you coming back to the great outdoors. Start with your floor, build from there, and enjoy winter camping the way it should be: comfortable, safe, and unforgettable.
Member discussion